Screw-on wheels offer a versatile and convenient solution for various applications, from furniture and cabinets to equipment and DIY projects. Installing screw-on wheels is a straightforward process that can significantly enhance the mobility and functionality of your items. In this blog post, we'll provide a step-by-step tutorial on how to install screw-on wheels effectively, ensuring a secure and reliable attachment.
Tools and Materials You'll Need
Before you begin, gather the following tools and materials:
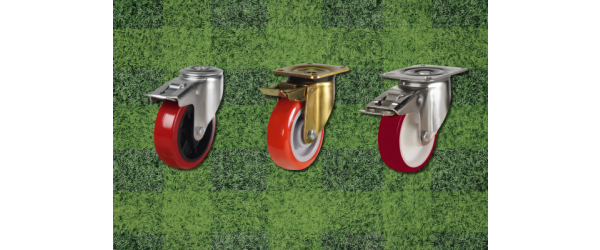
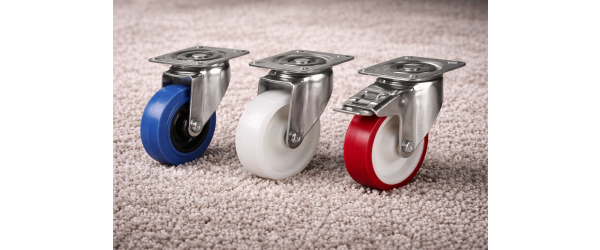
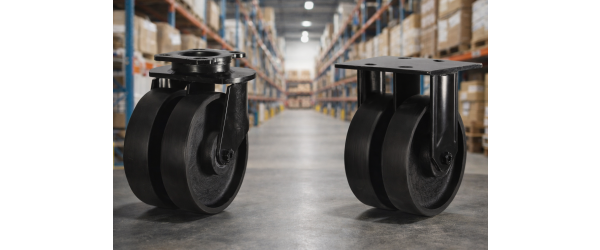
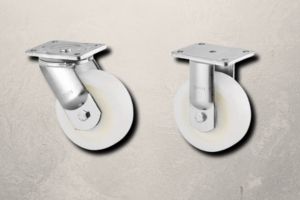
- Screw-on wheels: Choose the appropriate screw-on wheels for your specific application, considering factors like load capacity and wheel size.
- Screws: Ensure you have the correct screws that match the threads on the screw-on wheels. Screws are typically not included with the wheels and need to be purchased separately.
- Screwdriver or Drill: Depending on your preference and the available tools, you can use a screwdriver or a drill with a compatible screwdriver bit.
- Measuring Tape: For accurate placement and alignment.
Step 1: Preparation
Start by clearing the area where you'll be installing the screw-on wheels. Place your item upside down or on its side, ensuring it's stable and won't tip over during installation.
Step 2: Positioning
Determine the ideal location for your screw-on wheels. Measure and mark the positions where you'll attach each wheel. Make sure the markings are evenly spaced and aligned for balanced support.
Step 3: Pre-drilling
To make the installation process smoother and prevent wood from splitting, it's a good practice to pre-drill pilot holes at the marked positions. Choose a drill bit slightly smaller than the diameter of your screws and drill holes to the appropriate depth.
Step 4: Attach the Wheels
With the pilot holes ready, it's time to attach the screw-on wheels. Place a wheel over each pilot hole, aligning the screw holes on the wheel with the holes you drilled.
Step 5: Secure with Screws
Insert screws through the holes in the wheels and into the pilot holes in your item. Using a screwdriver or drill, tighten the screws until the wheels are securely fastened. Be careful not to over-tighten, as this can damage the wheel or item.
Step 6: Test and Adjust
Once all the screw-on wheels are attached, carefully flip your item right side up. Test the mobility and stability of your item to ensure that the wheels are functioning as expected. If necessary, make any adjustments or tighten screws further.
Conclusion
Installing screw-on wheels is a practical DIY task that can enhance the mobility and versatility of your furniture, equipment, or projects. By following this step-by-step tutorial and using the right tools and materials, you can ensure a secure and reliable attachment of screw-on wheels, making it easier to move and use your items as needed.
For a wide selection of screw-on wheels suitable for various applications, visit Castors-Online.co.uk and discover the possibilities of enhanced mobility today.